
MrCNC - part 3
Continued from part two ...
Now that the machine works, it is time to do something with it! My first carving was the LinuxCNC text which took a few attempts to get right, but once working seemed good. Second cut was something called "chips", which it turns out is a lovely wee penguin:
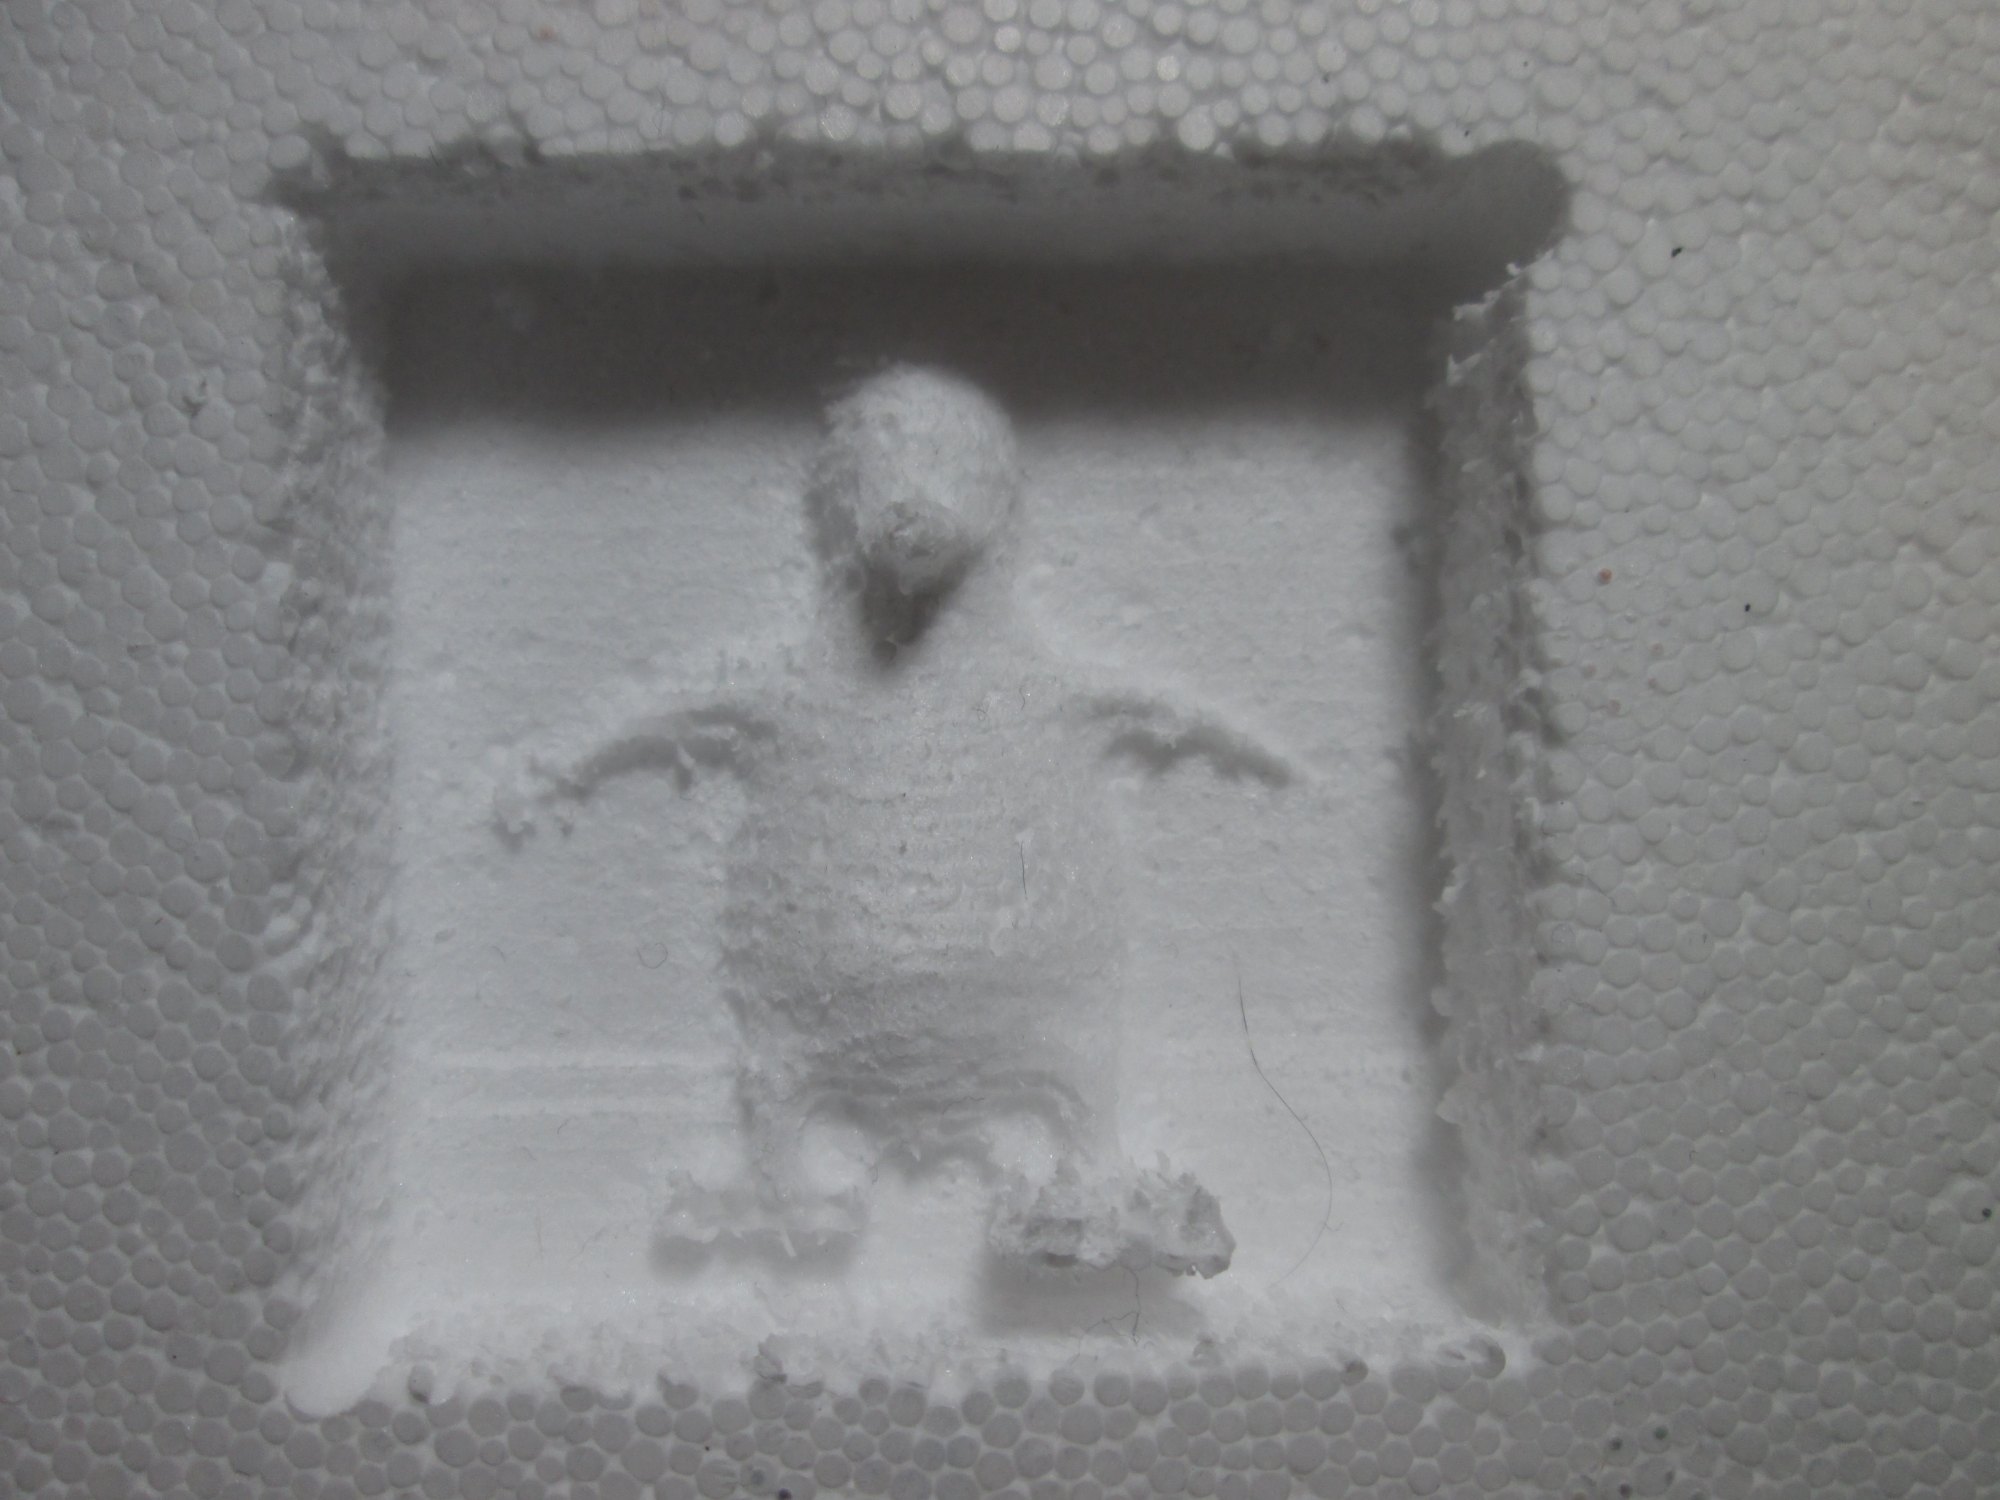
Detail is a bit rough around his foot, and the other flipper snapped off, however for a first go I was pretty impressed. The foam isn't amazing to machine, the beads tend to remain, but it's about all my machine can manage at the moment with it's poor-man's-spindle.
I spent quite a bit of time getting the homing configurations correct, as there are many different variables and they don't all make a whole lot of sense. When I finally got my head around HOME, HOME_OFFSET, MIN, MAX, etc it started making sense and I was able to get the results I was after.
For my second piece, Rachel had said "I want a Tiger!" however actually making a model of our Tiger would've required him staying in one place for more than a few seconds, an obvious impossibility, so instead I went onto Thingiverse and found a 3d model of a cat. I loaded it into MeshCAM which converts the 3D model into a set of instructions which LinuxCNC then uses to drive the machine. The settings I used were a bit coarse, however the result if very much a cat:

Encouraged by this, Rachel asked for a model of the Millennium Falcon, so once again I went on Thingiverse and found a good model. I did some massaging of the model in Blender, which is an exercise in itself, then exported the STL and generated the Gcode.
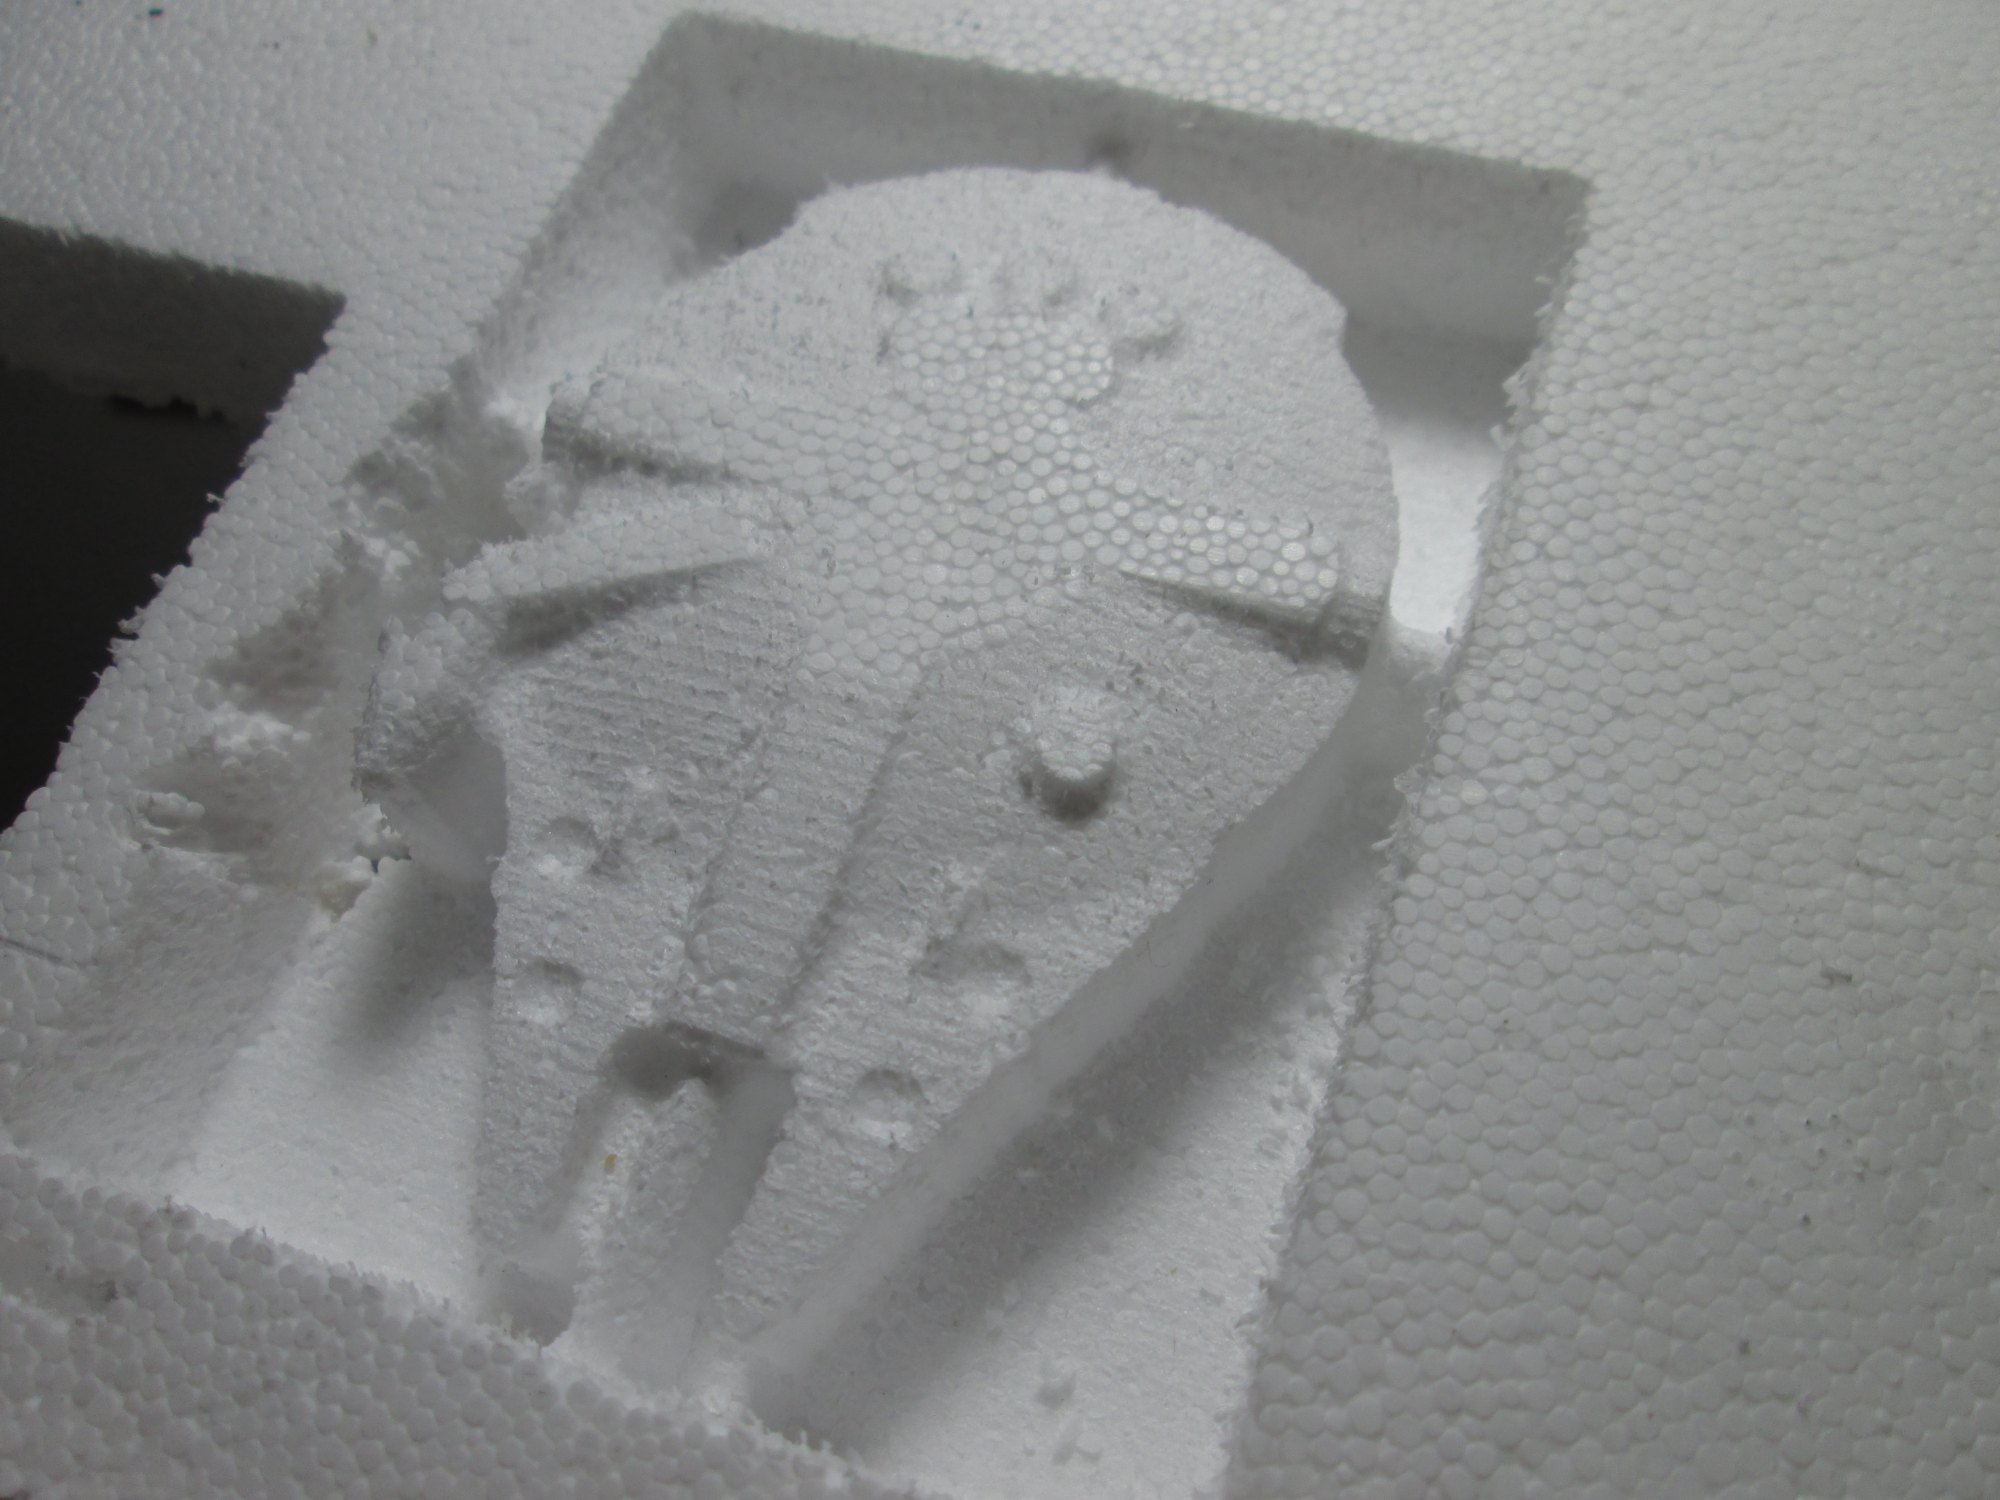
Unfortunately something went wrong while I was out of the room and the drill bit was lowered too far and ended up crashing into the MDF. It proceeded to drill a hole in the MDF, and then the gantry moved, bending the bit. The bit bent at a crazy angle and thrashed around, tearing up the side of the model. It also destroyed the bearings of the motor!
So that has put a stop to any carving for a week or two until replacement parts arrive. I've got a nice new spindle, precision machined in China to very high standards. It takes ER11 collets, and I've got a couple of proper end mills on their way. All that I'm waiting for is a 5-to-8mm coupling to connect the motor to the spindle. To be honest, it's a wonder the poor-man's-spindle ever worked!
As for why the machine killed itself, that took a bit more puzzling. Obviously the bit had gone too low. While mucking around with the machine a few days later, I went to raise the Z axis and it suddenly it stalled. Unlike DC motors, if you try and drive a stepper motor too fast, it just stalls and doesn't move at all! So what had happened was the machine went to raise the bit to move over one of the support brackets. Since it's a retraction move, it is done as a rapid , i.e. at maximum speed. That caused the motor to stall. The computer then thought the bit was higher than it actually was, so when it went to lower the tool piece again, it lowered it too far, leading to the bent catastrophe seen above.
Now that I know the cause, I've done a bunch of testing on the Z axis to measure the maximum safe speed for the motor, and set the speed limit in software to a lower value. Hopefully that will stop it happening again.
In the meantime I am keeping a very close eye on the letterbox, waiting for the final pieces of the puzzle to arrive. Then I can start doing some real machining!
Leave a comment?